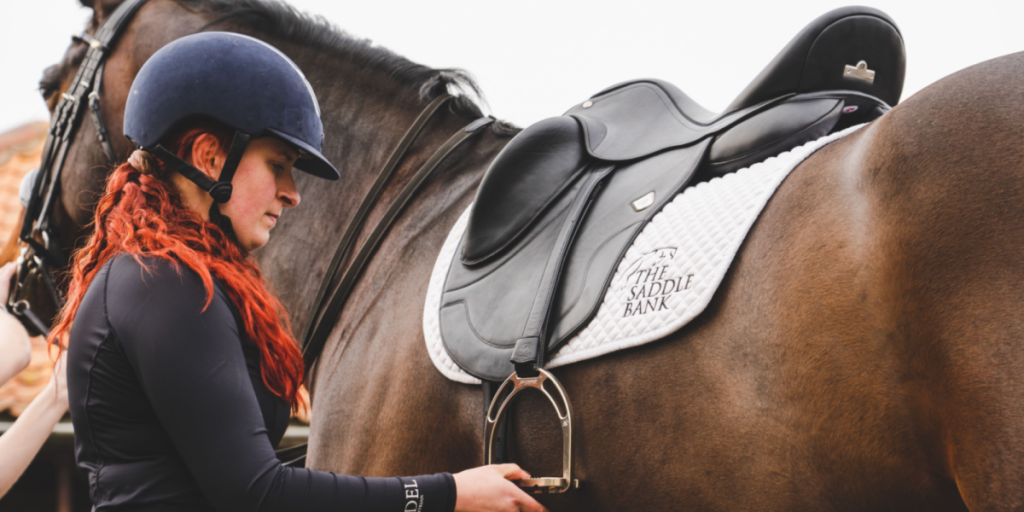
Tack and gear are some of the biggest expenses in horse care, and saddle pads are no exception. After spending more money than I care to admit on pads in all colors, patterns, and materials, I started exploring how to give my old ones new life. That’s when I discovered how satisfying and simple sewing your own saddle pad cover can be. It’s a fun, affordable way to customize your tack room and make old saddle pads look new again.
Beyond the budget aspect, making your own cover opens up a world of creative freedom. From selecting colors and prints to choosing the perfect materials for your horse’s comfort, the process puts control back in your hands. Whether you want something stylish for shows or a practical option for everyday rides, sewing your own saddle pad cover offers flexibility, function, and fun.
Why Make Your Own Saddle Pad Cover?
Saddle pads go through a lot. Sweat, dirt, hair, and constant friction can wear them out in no time. Covers offer protection, extend the life of your pads, and give you a fresh look without buying new gear.
I like to keep a few pads in rotation, especially during busy training weeks, and covering them helps prevent unnecessary wear. It’s also easier to remove and wash a cover than to deep clean an entire saddle pad. Sewing your own saddle pad cover also lets you personalize your gear with colors or patterns that match your horse’s gear, your barn theme, or your own riding outfit.
What You’ll Need to Get Started
Before starting any sewing project, I gather all the tools and materials in one place. Here’s what I use for sewing your own saddle pad cover:
- One saddle pad: Preferably clean and dry.
- Fabric: Durable cotton, canvas, denim, or fleece, at least one yard, depending on pad size.
- Measuring tape: For accurate dimensions.
- Scissors or rotary cutter: For cutting fabric cleanly.
- Pins or clips: To secure fabric during sewing.
- Sewing machine: Any domestic machine with a straight stitch will work.
- Thread: Strong polyester or heavy-duty cotton.
- Elastic, Velcro, or buttons (optional): To create a closure system.
- Chalk or fabric marker: For marking your pattern.
Choosing the right fabric is key. I look for material that’s breathable, easy to wash, and tough enough to handle the friction of riding. Cotton duck, twill, or even upcycled denim have worked well for me. I also avoid anything too slippery like satin, which can cause shifting under the saddle.
Measuring and Making a Pattern
Accuracy is everything when sewing your own saddle pad cover. The cover should fit snugly without pulling or bunching. I start by laying the saddle pad flat on a clean surface, then measuring:
- Length: From front to back along the top curve.
- Height: From the top seam down to the bottom edge on the deepest point.
- Width: If your pad has thickness, measure across the spine to account for both sides.
Using those measurements, I sketch out a paper pattern or trace directly onto the fabric with chalk. I add about ½ inch seam allowance on all sides. For extra precision, I trace both sides of the pad, since some aren’t perfectly symmetrical.
If your saddle pad has a contoured or shaped design, make sure your pattern follows its curves. Don’t forget to account for the spine clearance if you’re working with a high-wither or shaped pad.
Cutting the Fabric
Once the pattern is drawn or traced, I cut out two identical pieces, one for each side of the cover. If I’m using patterned fabric, I double-check the orientation to make sure both pieces face the right way. There’s nothing worse than realizing your prints are upside down after stitching everything together.
I also consider lining the inside with a soft fabric, especially if the pad itself is worn or rough. This extra layer helps prevent rubbing or irritation on your horse’s back. Fleece or brushed cotton are good choices for linings.
Assembling the Cover
This is where things start to come together. I place the two fabric pieces right sides together, pinning around the edges. Leaving a wide opening along the back edge or spine area, I sew around the rest of the perimeter with a straight stitch.
- Corners are tricky, curved seams work best here.
- Seam allowance should be even all the way around.
- Backstitching at start and end points keeps everything secure.
After sewing, I turn the cover right-side out through the opening. I press the seams flat with an iron for a crisp look, then test-fit the cover over the saddle pad.
If everything looks good, I sew the opening closed, either with a hidden ladder stitch or a topstitch close to the edge. Alternatively, I create a Velcro flap or button closure if I want the cover to be removable and washable.
Adding Closures for a Removable Cover
A removable cover is great for ease of cleaning. I often add a closure system to the spine or bottom edge of the pad. Some options that have worked for me include:
- Hook-and-loop (Velcro): Easy to apply, strong, and machine washable.
- Snaps: Add a professional look and stay secure even with movement.
- Buttons and loops: More time-consuming but offer a traditional, rustic finish.
- Zippers: Good for snug fits, but can be bulky or uncomfortable if not placed carefully.
For placement, I usually run the closure along the top spine or fold over a flap at the bottom. If I use Velcro, I make sure to sew it with a zigzag stitch for strength, especially if it’s a large saddle pad.
Decorative Details and Customization
One of my favorite parts of sewing your own saddle pad cover is the chance to get creative. I’ve experimented with all sorts of decorative elements, including:
- Contrasting piping or binding along the edges
- Embroidery or monograms for names or initials
- Appliqués like horseshoes, stars, or barn logos
- Color-blocking using leftover fabric scraps
I always keep practicality in mind. Anything that might cause rubbing or discomfort is left off the underside. Decorations should also be securely stitched to avoid catching or tearing during rides.
Washing and Caring for the Cover
Saddle pad covers go through sweat, hair, and dust every ride. I wash mine every few uses using mild detergent and cold water. If it’s removable, I wash it separately from the pad. Most fabrics hold up well in the washer, but I air dry them to prevent shrinkage or damage from heat.
I’ve found that prewashing the fabric before sewing helps avoid shrinking later. This step makes a big difference if you’re using cotton or any fabric prone to shrinking.
Troubleshooting Fit and Function
The first time sewing your own saddle pad cover might not be perfect. I’ve had to troubleshoot several issues along the way:
- Too tight? Trim seam allowances slightly and try again.
- Too loose? Add elastic or darts along the sides to snug it up.
- Slipping under the saddle? Use a textured underside fabric or add girth loops.
- Wrinkling or bunching? Press seams thoroughly and fit test before final stitches.
I learned not to get discouraged. Even if the first attempt isn’t perfect, each try gets better. The more I worked with saddle pads of different styles, the easier it became to adapt my patterns.
Environmental and Budget Benefits
Sewing your own saddle pad cover isn’t just practical, it’s also eco-conscious. By repurposing old pads and leftover fabric, I cut down on waste and reduced the need to buy new tack. It also let me support small fabric shops or use up materials I already had at home.
Each cover cost me just a few dollars to make, compared to buying brand-new pads at $50 or more. With that savings, I’ve been able to invest in better grooming tools, feed supplements, and even more riding time.
Making Covers for Different Types of Pads
I’ve made covers for both English and Western saddle pads, and while the overall process stays the same, there are a few adjustments:
- Western pads are usually larger and heavier. They need stronger fabric and more yardage.
- Shaped or contoured pads require more precise pattern tracing and adjustment.
- Half pads benefit from stretch fabric or fleece that hugs the curves.
No matter what style I’m working on, the key is matching the cover to the pad’s shape and intended use. I keep notes on each project to refine my methods for next time.
Turning It Into a Barn Craft
After making a few covers for myself, I began helping friends at the barn do the same. We’d set up a sewing station and share materials and techniques. It became a fun weekend project and a way to bond outside of riding.
Some riders even started selling custom saddle pad covers to other local barns. It’s a small but meaningful side hustle for those with creative flair and basic sewing skills.
Conclusion
Sewing your own saddle pad cover is a useful and rewarding project that brings new life to old gear. It saves money, protects your tack, and gives you full control over the look and feel of your setup. With a little practice and creativity, you can design covers that reflect your personal style while offering maximum function for everyday rides.
From start to finish, it’s a process that blends practicality with self-expression. Whether you’re looking to refresh your gear, gift something special to a barn friend, or explore new crafting skills, this project is a great place to start. I’ve enjoyed every stitch and the satisfaction of knowing my gear is both handmade and horse-approved.


