
Memories have a funny way of sticking with us, sometimes it’s a photo, a sound, or even a texture. For me, one of the most meaningful keepsakes I’ve ever created came from something as simple as a few strands of my horse’s tail. Making DIY horse hair keychains turned into not only a creative pastime but also a way to carry a small piece of my horse with me, wherever I go.
I’ve made these keychains for friends, fellow riders, and even as quiet memorial gifts when someone’s equine partner passed on. Whether it’s to celebrate a milestone or to keep a beloved horse close, DIY horse hair keychains are deeply personal, beautifully rustic, and surprisingly easy to craft with a few basic tools and a little patience.
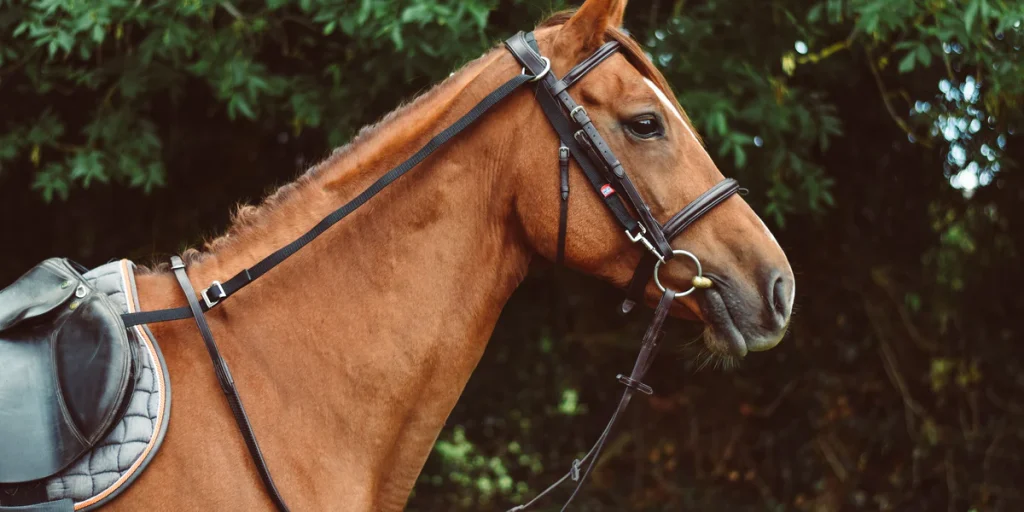
Gathering The Right Horse Hair
The first step, of course, is sourcing the horse hair. I always aim to collect it in a way that’s gentle and respectful. Usually, I’ll take tail hair rather than mane hair, simply because the tail tends to have longer, thicker strands that braid more easily and give the final keychain a fuller look.
Things I’ve Learned About Collecting Hair:
- Use clean, dry tail hair. Avoid using hair with tangles, debris, or mud.
- Choose the longest strands available. I typically look for hair at least 10 to 12 inches long so that I have plenty of room to braid and trim.
- Clip from the middle underside of the tailbone where it’s less noticeable.
- Only take a small amount, about a pencil’s thickness is plenty for one keychain.
If you’re making a memorial keychain, sometimes friends or barn staff will have already saved hair for sentimental keepsakes. In that case, always handle the hair with care and sensitivity.
Washing And Preparing The Hair
Before starting the crafting process, I always wash the horse hair thoroughly. Even clean-looking hair can hold dust or oils that affect how the hair handles or holds shape.
My Washing Method:
- Fill a basin with lukewarm water and add a mild shampoo or dish soap.
- Swish the hair gently to avoid tangling, then rinse thoroughly.
- Follow up with a small amount of conditioner to soften the strands.
- Rinse again and lay the hair flat to air dry completely.
Once dry, I brush out the hair gently with a wide-toothed comb and separate it into small sections based on thickness. From here, I’m ready to begin crafting.
Tools And Supplies You’ll Need
Creating DIY horse hair keychains doesn’t require a complicated setup. Most of the supplies can be found at craft stores or online. I keep a box with all my materials organized, so I can sit down and create whenever inspiration strikes.
My Go-To Supply List:
- Clean, dry horse hair
- Scissors
- Measuring tape or ruler
- Small elastic bands
- Jewelry glue or fabric glue
- Keychain hardware (loops, clasps, or rings)
- Crimp ends or cord caps
- Jewelry pliers
- Optional: beads, charms, conchos, or leather accents
Some crafters prefer using a jig or braiding board, but I find a clipboard or even a binder clip and a heavy book do the trick just fine.
Choosing Your Keychain Style
There are plenty of styles to choose from when making DIY horse hair keychains, from simple braids to intricate woven patterns. I usually stick to a few go-to designs that balance elegance and simplicity.
Popular Styles I Like To Use:
- Three-strand braid: Classic, quick, and ideal for showing off the natural beauty of the hair.
- Four-strand round braid: A bit trickier but results in a strong, rope-like finish.
- Fishtail braid: Great for thinner hair bundles with a more decorative finish.
- Twist cord: Fast and clean, especially if you want to pair with charms or conchos.
You can also mix styles or create a tassel effect using a glued base and leaving the hair flowing freely. I love pairing braided designs with custom stamped metal tags or small horseshoe charms.
Braiding The Horse Hair
Once I’ve chosen a design, I start by measuring out the section of horse hair I’ll need. For a standard keychain, I use about 10–12 inches of hair to start, knowing that I’ll trim it down after finishing.
How I Handle Braiding:
- Tie off the top of the hair with a small elastic.
- Clip or tape the elastic to a flat surface or clipboard.
- Separate the hair into equal sections for braiding.
- Braid with consistent tension to avoid lumpy or uneven shapes.
- Secure the braid at the bottom with another elastic band.
If I’m doing a round braid or four-strand weave, I take a little extra time practicing on scrap hair. Consistency in spacing and tension makes a huge difference in the final product.
Securing The Ends
Once the braid is done, I move on to finishing the ends in a way that’s both secure and stylish. The simplest method I’ve used is crimp cord ends, which come in a variety of sizes and finishes.
Steps For Clean Finishing:
- Trim the ends to make them even and neat.
- Apply a dab of glue to the base and insert it into the cord end.
- Use jewelry pliers to crimp the end shut firmly.
- Let the glue dry for at least 10–15 minutes.
For added strength, I’ve used heat-shrink tubing underneath decorative caps or leather wraparounds. It’s all about blending practicality and style.
Attaching The Keychain Hardware
After the ends are secured, I attach the hardware. You can use a basic keyring, lobster clasp, or split ring depending on preference. I like to use split rings with a swivel base because they allow the braid to hang naturally without twisting awkwardly.
If I’m gifting the keychain, I often include a little extra like a bead charm in the recipient’s favorite color or a stamped tag with their horse’s initials. These little additions give the keychain a custom look and make it even more meaningful.
Personalizing The Keychain
DIY horse hair keychains are special because they already carry a story, but that doesn’t mean I can’t add more layers to it. I always look for ways to personalize the design even further.
Ideas For Personal Touches:
- Add a birthstone-colored bead to represent the horse’s birthday
- Incorporate conchos that reflect the horse’s breed or discipline
- Tie a strip of leather in the barn’s colors around the base
- Attach a mini nameplate with engraved text
- Use multiple horses’ hair braided together for a shared keepsake
I once made a keychain from the hair of two pasture mates and braided the strands together. It was a surprise gift, and the owner was deeply moved by the thought behind it.
Care And Maintenance
Horse hair is surprisingly durable, but like anything made from natural material, it benefits from some care. I always remind people to avoid getting the keychain wet too often, especially with soaps or chemicals. Occasional brushing with a small comb keeps it looking neat.
Key Tips For Longevity:
- Avoid soaking the keychain
- Store away from direct sunlight
- Trim any frayed ends over time
- Reapply glue or tighten metal caps if they loosen
With a little maintenance, these keepsakes can last for years without losing their beauty or sentimental value.
Creating A Memorial Piece
One of the most touching ways I’ve used DIY horse hair keychains is to create memorial pieces for friends who’ve lost their horses. These tokens offer a quiet way to remember the bond between horse and human and serve as a portable memory.
For memorial keychains, I take extra time with presentation. I place the keychain in a small velvet pouch and include a handwritten note or a favorite quote. One time, I burned the horse’s name into a wooden tag and attached it to the ring, a detail that brought tears to the owner’s eyes.
Hosting A Barn Craft Night
Sharing this craft with fellow equestrians is part of the joy. I once hosted a barn keychain-making night with a few friends, and we all brought in tail hair from our horses. Some braided together, some added beads, and a few just watched while sipping cider. It was a perfect mix of creativity and camaraderie.
If you ever plan a group DIY horse hair keychains night, make sure to:
- Pre-wash and organize hair into bundles
- Bring extra supplies for guests
- Lay out examples of different styles
- Provide glue guns, pliers, and clamps
- Offer simple instruction cards or videos
By the end of the night, everyone left with a handmade keepsake and plenty of smiles.
Selling Or Gifting Your Keychains
After making a few keychains, I had friends ask if they could buy one or commission one for someone else. If you enjoy the process, DIY horse hair keychains can become a thoughtful small business idea or a charitable endeavor, perhaps as part of a fundraiser or raffle for your barn.
Pricing depends on complexity and materials. I usually charge more for ones with custom hardware, tags, or multicolor braids. But no matter the price, it’s always about the story behind the strands.
Conclusion
Creating DIY horse hair keychains has become one of the most meaningful crafts in my equestrian life. It’s more than just braiding hair, it’s capturing a moment, a connection, and a memory in something small enough to fit in your hand but big enough to hold your heart.
Each keychain I’ve made tells its own story. Some are full of joy, others are quiet tokens of love and remembrance. And every time I hold one, I’m reminded of the powerful bond we share with our horses.
If you’re looking for a way to carry your equine partner with you, or want to give a heartfelt gift to a friend in the barn, start with a few strands of tail hair. Let your hands do the braiding, and let your heart guide the design.