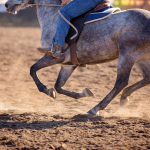
Equestrian life has always carried a sense of tradition and craftsmanship. From the intricate details of a saddle’s stitching to the beautiful logos embroidered on saddle pads and jackets, there’s a level of artistry woven into the daily experience of working with horses. Embroidery, in particular, has found a long-standing place in the horse world. Learning how to stitch personalized designs onto equestrian gear opens up creative possibilities for riders who want to add a personal touch to their stable environment. This beginner’s guide to equestrian embroidery will walk through everything needed to get started, from supplies and techniques to project ideas and stitching tips.
Adding embroidery to horse gear isn’t just about aesthetics, it’s also about ownership, pride, and connection. A monogrammed saddle pad or a hand-stitched name on a blanket can elevate an ordinary item into something special. Even more rewarding is knowing that those designs were created by hand, each stitch placed with care.
Why Equestrian Embroidery Is Worth Learning
Learning embroidery for equestrian use introduces a world of creative freedom. With just a few tools, it’s possible to add names, logos, patterns, or breeds to gear like saddle pads, grooming tote covers, stall curtains, and even turnout sheets. Whether the goal is to mark items for shows or simply personalize everyday barn tools, embroidery offers a lasting and meaningful result.
Equestrian embroidery also makes for heartfelt gifts. I’ve created stitched keepsakes for fellow boarders, commemorated a horse’s first show with a stitched date, and added whimsical designs to kids’ riding gear. The best part is how accessible it is, even for complete beginners.
Essential Supplies To Get Started
Getting started doesn’t require an expensive machine or studio setup. Many embroidery projects can be done entirely by hand. Here’s a list of supplies I keep on hand for both hand embroidery and machine-assisted projects.
Basic Supplies For Hand Embroidery:
- Embroidery hoop (4 to 10 inches depending on project size)
- Embroidery needles
- Embroidery floss or heavy-duty thread (polyester or cotton)
- Water-soluble pen or chalk pencil
- Fabric scissors
- Iron-on stabilizer or interfacing
- Thimble (optional but helpful)
Additional Tools For Machine Embroidery:
- Embroidery machine or sewing machine with embroidery capabilities
- Machine embroidery thread
- Pre-wound bobbins
- USB for digital designs (if using a modern machine)
- Hoop frames designed for machine use
Even for those starting entirely by hand, these supplies are affordable and easy to find at craft stores or online.
Choosing the Right Fabric and Base Materials
Not all fabrics take embroidery the same way. When working with equestrian gear, I focus on fabrics that are sturdy but not so thick that stitching becomes frustrating. Saddle pads, for example, often have a quilted cotton surface which is ideal for embroidery.
Recommended Base Materials:
- Cotton twill or quilted fabric
- Polar fleece (for cooler sheets or blankets)
- Canvas (used in tack trunks or tote bags)
- Denim or heavyweight linen
- Nylon with stabilizer (for turnout gear)
Adding a stabilizer helps prevent puckering and gives the stitches something to grip. I usually use an iron-on or temporary adhesive stabilizer that can be removed afterward.
Selecting Embroidery Designs and Patterns
Design selection depends on the intended project. I like to start with simple text, like a horse’s name or barn initials. Decorative elements like horseshoes, bridles, and jumping silhouettes can be added as skill grows.
Sources for Patterns:
- Free online embroidery libraries
- Equestrian clip art converted to patterns
- Handmade sketches traced onto fabric
- Purchased embroidery files for machines
Hand embroidery designs can be traced using a water-soluble pen, chalk pencil, or light box. For machine work, many modern machines read .PES or .DST files that allow more intricate designs to be stitched automatically.
Hand Embroidery Techniques for Equestrian Projects
One of the most relaxing parts of following a beginner’s guide to equestrian embroidery is sitting down with a needle, thread, and the rhythm of stitching. These foundational techniques are easy to learn and highly versatile.
Backstitch – Ideal for writing names and outlining logos. It’s strong and gives clean, smooth lines.
Satin Stitch – Best for filling in shapes like horseshoes or monograms. It creates a solid, raised texture.
Chain Stitch – Great for decorative edges. It has a classic rope-like appearance.
Split Stitch – A mix between the backstitch and chain stitch. I use this often for script fonts.
French Knot – Useful for creating small dots or accents, such as eyes or decorative borders.
These stitches form the foundation of most equestrian designs and work well on tough barn fabrics.
Tips for Clean and Durable Stitching
Since equestrian items are often washed, dirtied, or exposed to rough use, embroidery on gear needs to hold up. Here are a few things I’ve learned to keep the stitching neat and durable.
- Always use a stabilizer under stretchy or heavy fabrics.
- Choose strong thread, preferably polyester or heavy-duty cotton.
- Make knots secure, especially on hand embroidery.
- Avoid overly tight stitching which can cause puckering.
- Press finished pieces with an iron on low heat to set stitches.
For machine embroidery, I always test the design on scrap fabric before stitching on the final piece. That little extra step has saved me countless hours.
Project Ideas For Equestrian Embroidery
Personalizing barn gear is only the beginning. Over time, I’ve built a list of go-to projects that have added charm, organization, and identity to my horse care routine.
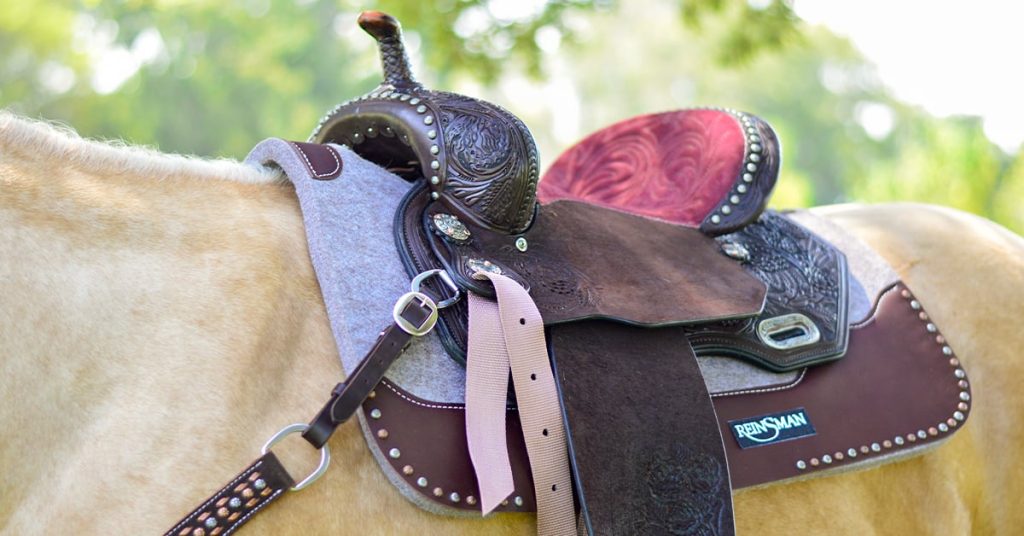
Personalized Saddle Pads
Stitching names or logos into saddle pads instantly makes them stand out. I often use initials in the corner, accompanied by a small horse silhouette or star. It’s a functional and stylish way to prevent mix-ups in a shared tack room.
Grooming Tote Labels
Canvas grooming totes can be plain, so I use embroidery to add horse names or discipline icons, like a jumping horse, Western hat, or dressage letters. These make the totes more personal and easier to identify.
Stall Curtains and Banners
For shows or travel, embroidered stall curtains or hanging banners help represent the barn. I’ve stitched logos, horse show names, or barn mottos onto dark fabric and hemmed the edges with bias tape for a clean, professional finish.
Stable Blankets and Coolers
A monogrammed fleece cooler makes a fantastic gift and looks polished at shows. For best results, I use contrasting thread colors and keep the design off-center toward the hip area, away from seams.
Horse Show Towels and Wraps
Adding embroidery to towels or leg wrap bags helps with organization and is especially useful during clinics or competitions. It also adds a level of professionalism and care.
Making Mistakes and Learning As You Go
Every stitch teaches something. I’ve had misaligned letters, tangled threads, and uneven tension more times than I can count. But every project has improved with practice. I learned to slow down, take breaks, and treat mistakes as part of the learning curve.
One trick I found helpful was to keep a “scrap sampler” where I could practice new stitches before adding them to a real piece. It’s also a great way to test different thread colors and textures.
Bringing Embroidery Into the Barn Community
One thing that surprised me was how quickly embroidery became a way to connect with other riders. After I stitched a friend’s horse’s name onto a saddle pad as a birthday gift, word spread and I started making small embroidered gifts for barn mates. It turned into an unexpected side hobby that brought smiles and appreciation.
I’ve also hosted low-key embroidery afternoons in the tack room where we embroidered things like small towels, canvas covers, or bridle tags. It was a great way to share ideas and try different styles without pressure.
Upcycling With Embroidery
Adding embroidery is a fantastic way to bring new life to old gear. I had a few saddle pads that were faded or lightly stained, and instead of tossing them, I stitched over the blemishes with decorative designs.
Other upcycling ideas include:
- Patching tears in turnout sheets with embroidered patches
- Embellishing old denim breeches or jackets
- Adding names to old feed bags used for storage
This not only saves money but adds a personal, eco-friendly flair to everyday barn life.
What To Avoid As A Beginner
Getting started with embroidery is exciting, but there are a few things I learned the hard way that are worth mentioning.
- Avoid stitching too close to thick seams, it can bend needles and strain fingers.
- Don’t skip stabilizers on stretchy or slick fabrics.
- Stay away from ultra-thin thread for barn gear, it won’t last.
- Keep designs small until your confidence and control improve.
- Don’t forget to check spelling before you start stitching names.
These small reminders helped me stay focused and improve faster.
Conclusion
This beginner’s guide to equestrian embroidery is meant to be the first stitch in a rewarding and creative journey. Embroidery offers a unique opportunity to combine artistry with function in the barn. With a little patience, practice, and a few tools, anyone can add charm, personality, and organization to their horse gear.
From marking your horse’s name on saddle pads to creating show-worthy banners, embroidery allows equestrians to express their love for horses in a personal and lasting way. Each stitch is more than decoration, it’s a reflection of care, connection, and craftsmanship. Whether working by hand or with a machine, the joy of creating something both beautiful and useful is what makes this skill worth learning.